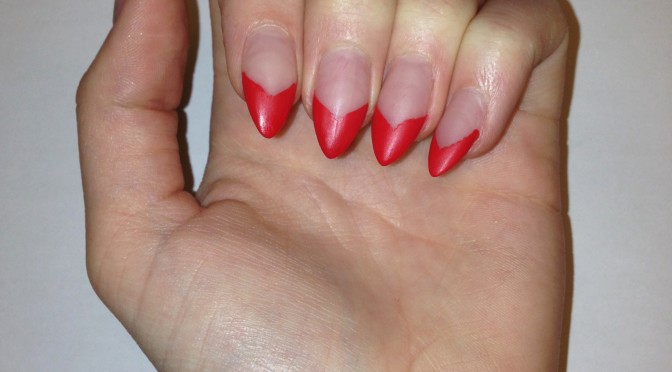

I don’t think it’s possible to google “Stiletto Nails” and not have a picture of Lana come up. (Seriously though, try it). That being said, how perfect is she? I couldn’t resist painting my nails like hers, and thought I would share my quick and easy tutorial on how to achieve this design.
First and foremost: Real nails do not naturally grow into this shape, so if you are blessed with healthy nails that actually grow further than the tip of your finger, simply use a nail file on the sides to achieve a pointier shape. If you’re like me and gave up on your growth-challenged nails a long time ago, opt for either acrylic or gel! Also, make sure to show your nail technician a photo of this particular shape because trust me, they will just give you rounded nails.
Anyway, on to the tutorial!
Steps in further detail:
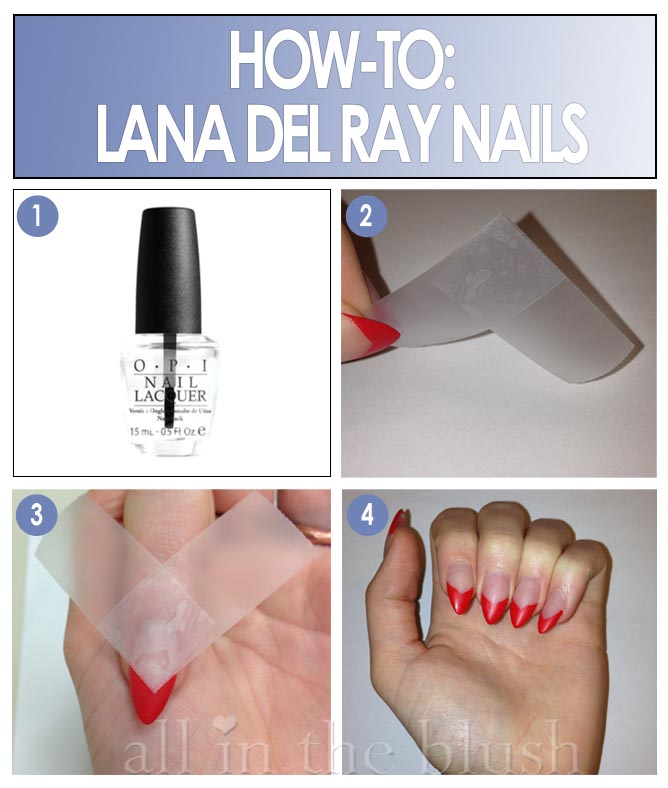
1. First, paint your nails with a clear coat of polish. Let them dry completely.
2. Next, go fetch some scotch tape (the skinnier kind works better) and place one on top of the other to create a “V” shape (Shown above).
3. Place the tape a little past the middle of your (dry) nail and push down all the way to make sure there are no spaces between the tape and the nail (This is only important around the edges). If it’s not stuck down all the way, you will not get a clear line.
4. Once the tape is down in place, paint the top of the nail with your color of choice. I chose Essie’s “Fifth Avenue.”
What do you think of Lana’s nails? Too dangerous? Leave your thoughts in the comments below, and post links to your DIY nail posts 🙂
(Image Credits: Lana Del Rey Photo)


Fierce nails all the way! Good tutorial!
I could never rock this style, looks great though…xo
http://calluswhatever.wordpress.com/
love these and love her !! Nice!
Looks great!
I must do this when my nails grow back. Looks super easy and I love these nails